
Safety · Radiation protection and dose2 min read5-question check
ALARA and Dose Optimization
Use the lowest technique that gives a diagnostic image, then check the deviation index to prove it.
The rule
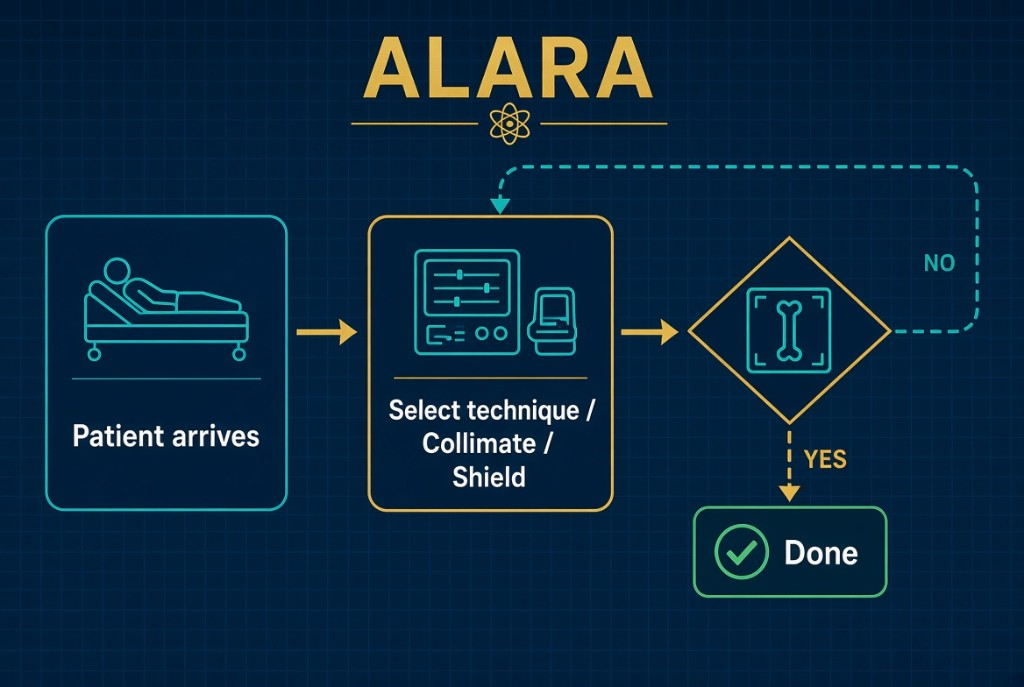
ALARA means as low as reasonably achievable. For technique, it means using the lowest exposure that still produces a diagnostic image. The goal is not the prettiest image. It is an image with enough signal and acceptable noise for the radiologist to make the diagnosis, at the least dose to get there.
ALARA
Choosing technique
In digital radiography, kVp and mAs play different roles. mAs controls how many photons are produced, so it directly controls receptor exposure and patient dose. kVp controls beam penetration. A higher kVp beam penetrates better, so fewer photons are needed to reach the receptor. Because digital processing adjusts displayed contrast, radiographers can often use a higher kVp with a lower mAs and still get a good image at a lower patient dose. Automatic exposure control, used with correct ionization chamber selection and centering, also helps keep exposure consistent.
The numbers
The 15 percent rule makes this practical. Raising kVp by 15 percent has about the same effect on receptor exposure as doubling mAs. So you can raise kVp 15 percent and cut mAs in half. Worked example: a technique of 80 kVp at 20 mAs can become 92 kVp at 10 mAs, since 80 times 1.15 is 92. Receptor exposure stays about the same, and patient dose goes down.
Watching the dose
After each exposure, check the exposure indicator and the deviation index, or DI. A DI of 0 means the exposure hit the target. A DI of plus 3 means about twice the target exposure, and minus 3 means about half. Digital systems hide overexposure because processing rescales the image to look normal. Over time, radiographers may raise technique to avoid noisy images, a slow upward drift called dose creep. Diagnostic reference levels help catch it. A DRL is a benchmark dose for a common exam, typically set at the 75th percentile of doses surveyed across many facilities. It is not a dose limit, but routinely exceeding it should trigger a technique review.
Clinical Example
A radiographer notices her portable chest images all show a DI near plus 3. She reviews the chart, lowers mAs, and the next images have a DI near 0 with no visible loss of quality.
Common Mistakes
- Treating a bright, clean image as proof that the exposure was correct.
- Treating a diagnostic reference level as a legal dose limit.
- Raising mAs to cover positioning or centering errors.
Why It Matters
Dose creep adds unnecessary dose across thousands of exams. The registry tests the 15 percent rule, DI meaning, and why digital systems mask overexposure.
Key Relationships
- Raise kVp 15% → halve mAs for the same receptor exposure
- mAs controls quantity and patient dose
- DI 0 = on target, plus 3 = about double, minus 3 = about half
- DRL = benchmark for review, not a limit